How to Run Local LLMs with llama.cpp-nathanpenny
How to Run Local LLMs with llama.cpp
by nathanpenny
Step 1 – Overview of the Author’s Laptop Configuration
First, let’s outline the specifications of my MacBook Air: it is equipped with an M5 chip, 16GB of RAM, and 1TB of storage. This setup is sufficient to run small-scale models (e.g., 3GB in size). With that context, let’s proceed to the implementation steps.
Step 2 – Preparatory Work
Important Note: Terminal and command-line tools are required for this tutorial. Ensure these tools are installed on your system. If you are a complete beginner and unsure how to proceed, this section provides a step-by-step guide (including installing all necessary tools).
1. Install Xcode Command Line Tools (Xcode Must Be Pre-installed)
Open the Terminal app (alternatively, you can use Cursor or VS Code, which include integrated Terminal interfaces) and execute the following command:
xcode-select --install
- Follow the system prompts to complete the installation. Verify that the installation directory is added to your system’s
PATHenvironment variable (this is typically done automatically). - To confirm successful installation:
- Run the command below:
clang --version # `g++ --version` yields the same result- The output should resemble the following:
Apple clang version 17.0.0 (clang-1700.6.4.2)
Target: arm64-apple-darwin25.3.0
Thread model: posix
InstalledDir: /Applications/Xcode.app/Contents/Developer/Toolchains/XcodeDefault.xctoolchain/usr/bin
2. Install Homebrew
- What is Homebrew?
Homebrew is a free, open-source package manager for macOS and Linux. It enables easy installation, update, and uninstallation of software via the command line.
Stay in the Terminal and run this command:
/bin/bash -c "$(curl -fsSL https://raw.githubusercontent.com/Homebrew/install/HEAD/install.sh)"
- Verify the installation by running:
brew --version - Expected output:
Homebrew 5.1.0
3. Install a Stable Version of Python
macOS comes with a pre-installed version of Python. To check the default version, open Terminal and run:
Input:
python3 --version
Output:
python 3.9.6
This default version is relatively outdated. For better compatibility and performance, we recommend installing Python 3.10:
- Run the following command in Terminal:
brew install python@3.10 # Adjust the version number to install a different release - Configure an alias for easier access to Python 3.10:
- Open the
.zshrcfile with the Vim editor:vim ~/.zshrc - Enter insert mode (press
i) and add the following line (replace the path with your actual Python 3.10 installation path):alias python310=/opt/homebrew/bin/python3.10 - Save changes and exit Vim: press
esc, then type:wqand hitenter. - Apply the changes to the current Terminal session:
source ~/.zshrc - Verify the alias works:
python310 --version - The output should be:
python 3.10.20 # Or another patch version (e.g., 3.10.x)
- Open the
- You can now use the
python310command to execute Python scripts with version 3.10.
4. Install CMake
-
What is CMake?
CMake is an open-source tool that facilitates cross-platform software building (Windows, macOS, Linux). It does not compile code directly; instead, it generates build files (e.g., Makefiles or IDE project files) that instruct the system on how to compile and link code. -
Run the following command in Terminal to install CMake:
brew install cmake -
Verify the installation:
cmake --version -
Expected output:
cmake version 4.2.3

CMake suite maintained and supported by Kitware (kitware.com/cmake).
Step 3 – Obtain and Set Up llama.cpp Locally
1. Clone the llama.cpp GitHub Repository
The official repository URL is Llama.cpp. Cloning the repository via Git is the most efficient method:
- Run the following commands sequentially in Terminal:
mkdir ~/Projects # Create a directory to store the repository (you may choose a different path)
cd ~/Projects
git clone https://github.com/crc-org/llama.cpp.git # Use the official repository URL
cd llama.cpp # The full path should be ~/Projects/llama.cpp (llama.cpp is a directory)
2. Compile llama.cpp
Official build instructions are available in llama.cpp/docs/build.md. Below are key excerpts tailored for this tutorial:
CPU Build
# Execute these commands in the llama.cpp directory
cmake -B build
cmake --build build --config Release
Notes:
- For faster compilation, add the
-jflag to enable parallel job execution (e.g.,-j 8for 8 parallel jobs), or use an auto-parallelizing generator like Ninja:cmake -B build cmake --build build --config Release -j 8 - For static builds (all libraries compiled into the final executable, with no external dependencies), add
-DBUILD_SHARED_LIBS=OFF:
Static build explanation: A static build embeds all required libraries directly into the final executable during compilation, making the executable self-contained and independent of external library files.cmake -B build -DBUILD_SHARED_LIBS=OFF cmake --build build --config Release
Metal Build (macOS Only)
Metal support is enabled by default on macOS, which offloads computation to the GPU. To disable Metal during compilation, use the -DGGML_METAL=OFF CMake flag:
cmake -B build -DGGML_METAL=OFF
cmake --build build --config Release
If Metal support is enabled, you can explicitly disable GPU inference at runtime with the --n-gpu-layers 0 command-line argument.
3. Create a Python Virtual Environment
-
What is venv?
venv(short for virtual environment) is a built-in Python tool that creates isolated Python environments. Its core functions are:- Creating a dedicated folder for each project’s Python interpreter and dependencies.
- Ensuring projects use only their locally installed packages (eliminating cross-project dependency conflicts).
-
Run the following commands in the
llama.cppdirectory:python -m venv .venv # Create a virtual environment named .venv source .venv/bin/activate # Activate the virtual environment -
Verify the activation:
which python # Expected output like: /Users/nathanpenny/Projects/llama.cpp/.venv/bin/pythonYou will also see a visible change in the Terminal prompt (indicating the virtual environment is active):
(.venv) nathanpenny@niepans-MacBook-Air ~ % # The (.venv) prefix confirms activation -
Install the required Python packages:
pip install -r requirements.txt
Step 4 – Obtain an Open-Source LLM Model
llama.cpp supports the .gguf model format. Ensure you download a model in this format, or convert existing models to .gguf if needed.
We use Qwen as an example:
- Download from Hugging Face: Visit unsloth/Qwen3.5-4B-GGUF to download the model. Select a variant that matches your hardware capabilities to ensure smooth operation.
- Move the Model to the llama.cpp Directory:
Alternative: You can also move thecd ~/Projects/llama.cpp # Navigate to the llama.cpp directory mkdir custom-models # Create a folder to store custom models cd ~/Downloads # Assume the .gguf file is in the Downloads directory mv [your-model-filename].gguf ~/Projects/llama.cpp/custom-models # Replace [your-model-filename] with the actual file name.gguffile to thecustom-modelsfolder via the macOS graphical interface (GUI) for simplicity.
Recommended Alternative Models:
- DeepSeek, Llama, GLM, Gemma, etc.
- All recommended models are available on Hugging Face in
.ggufformat with weights compatible with llama.cpp.
Step 5 – Interact with the Local Model
Run the following command to start the model in interactive mode:
build/bin/llama-cli -m custom-models/[your-model-filename].gguf
The model will now wait for your input. Ensure your system has sufficient RAM to run the model smoothly.
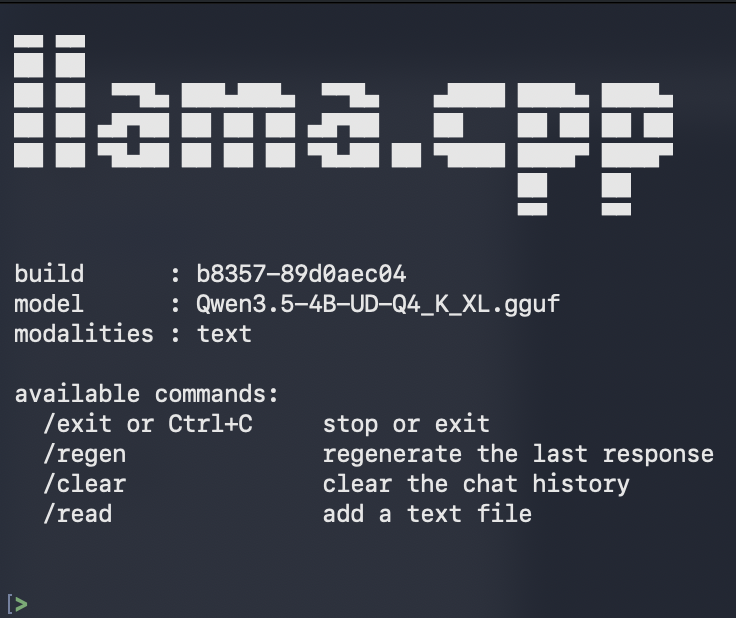
Type your questions after the [> prompt and wait for the model’s responses.
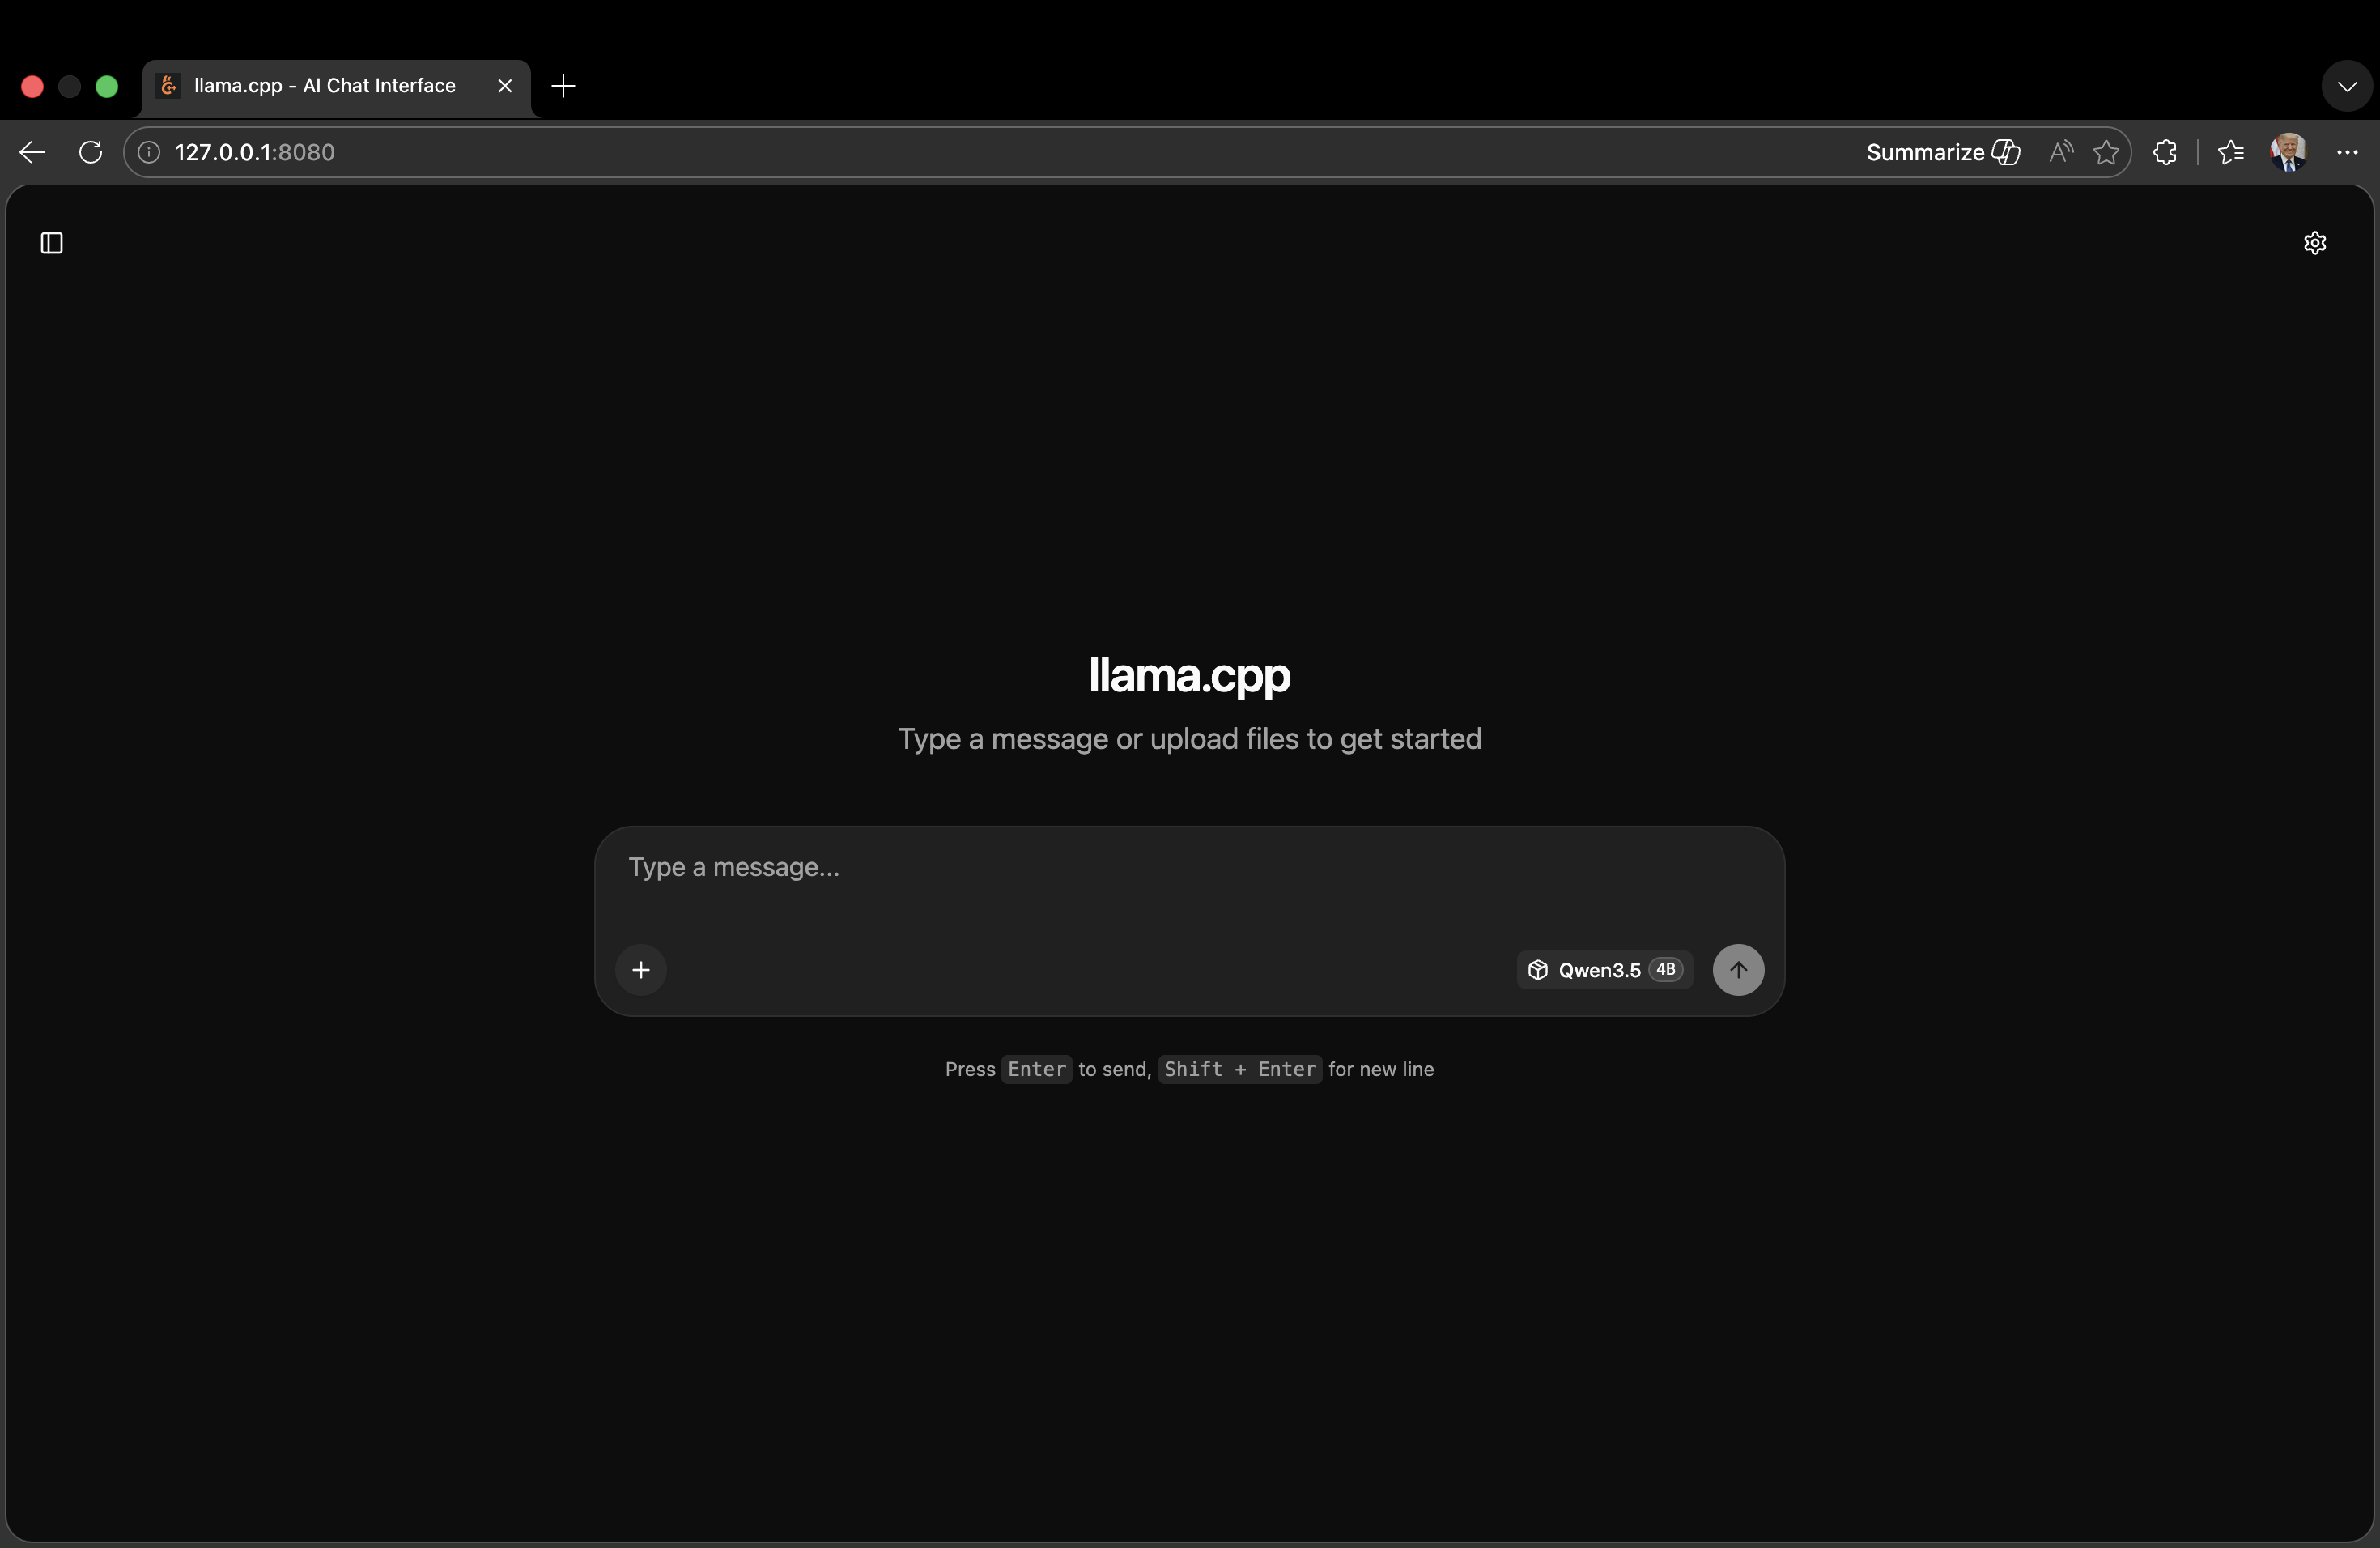
Additional Step – Run llama.cpp as a Web Server
For a graphical interface (instead of the command line), run the model as a local web server:
build/bin/llama-server -m custom-models/[your-model-filename].gguf --port 8080
You will see a local URL (e.g., http://127.0.0.1:8080/) in the Terminal. Open this URL in a web browser to access a user-friendly GUI for interacting with the model.

这里是“一人公司”的成长家园。我们提供从产品曝光、技术变现到法律财税的全栈内容,并连接云服务、办公空间等稀缺资源,助你专注创造,无忧运营。
更多推荐
 11
11 0
0- 0


 已为社区贡献1条内容

所有评论(0)